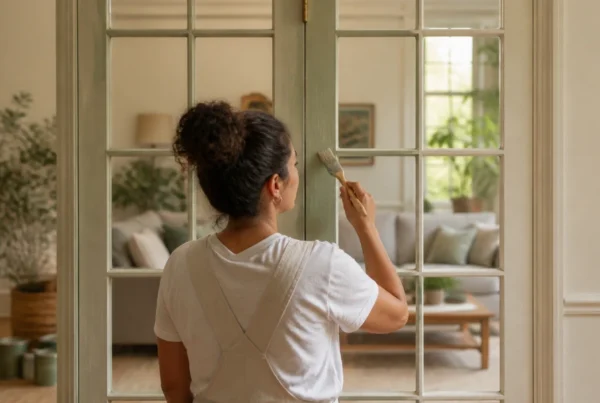
Transforming a plain wall into a stunning focal point is easier with 3D wall panels. These panels add depth, texture, and style to any space, making them a popular choice for both homes and businesses.
But to truly make them stand out, customization is key. In this guide, you will walk through the essential steps to personalize your panels and create a space that reflects your style.
1. Choose the Right Material
Panels come in different types, including MDF (medium-density fiberboard), PVC, gypsum, and natural wood. Each material has its benefits.
MDF is strong and easy to paint, while PVC is lightweight and moisture-resistant, making it great for bathrooms and kitchens. Gypsum panels are durable and provide a smooth finish, while natural wood gives a warm, rustic feel.
Think about the location of your panels and choose a material that fits your needs. If you need a budget-friendly option, PVC is a good choice. For a luxurious look, wood or gypsum panels work best.
2. Select a Design Pattern
There are many options, from geometric shapes to waves, floral designs, or abstract textures. If you want a modern look, go for sharp angles and geometric patterns.
For a softer, more natural feel, choose flowing waves or organic textures. Consider the theme of your space. A contemporary setting pairs well with sleek, minimalistic designs, while classic interiors look great with intricate patterns.
Also, think about how much detail you want. Some designs create a bold statement, while others offer a subtle touch of elegance.
3. Determine the Panel Size and Layout
Panels come in different sizes, so measure your wall carefully. Large panels cover more space quickly and create a bold look. Smaller panels allow for detailed designs and unique arrangements.
Decide whether you want a full-wall installation or a feature wall with panels covering only a section. Layout options include vertical, horizontal, or mixed patterns. Some people prefer uniform arrangements, while others like an asymmetrical layout for a creative touch.
4. Pick the Perfect Color and Finish
Color and finish play a big role in the final appearance of your 3D wall panels. You can choose a natural wood finish for warmth, a glossy white for a modern look, or a bold color to make the panels stand out.
Matte finishes give a soft, elegant feel, while glossy finishes create a sleek, polished effect. If you want a metallic or textured surface, some panels come with special coatings that add depth and shine.
Consider how the color and finish blend with your furniture and décor. Light colors make a space feel bigger, while dark tones add drama and richness.
5. Add Custom Engravings or Embossing
Engravings allow you to include patterns, words, or logos, making the design more personal. Embossing adds raised details that create extra depth and texture. If you want a business logo, a family crest, or an artistic design, these techniques make your panels one of a kind. Some manufacturers offer laser-cut designs for precise detailing. Others provide handcrafted embossing for a more artistic effect.
Install with Precision
Ensure a flawless and professional finish by installing your 3D wall panels with precision. Take your time, follow best practices, and enjoy a stunning, customized space!
Image by alejan610 from Pixabay
- About the Author
- Latest Posts
Our Editorial Team are writers and experts in their field. Their views and opinions may not always be the views of Wellbeing Magazine. If you are under the direction of medical supervision please speak to your doctor or therapist before following the advice and recommendations in these articles.